
Your Office or Microsoft 365 apps might glitch or freeze at some point.
If this ever happens to you, you can use the Office repair tool to fix an Office application.
So, last week, I was experiencing some weird issues with Microsoft 365 applications.
Every time I open Word, it crashes! The Excel spreadsheet I was working on didn’t respond.
Then, I tried to open Microsoft Outlook, and guess what? Even after 15 minutes, it was still loading. Restarting my PC didn’t help.
I was confused and frustrated like you are right now. But remember, the first thing to do in a situation like this is to relax and not panic.
In this blog post, I’ll show you how to repair Microsoft Office on Windows (laptop, desktop, and all-in-one).
Note: The instructions in this article apply to all versions of Microsoft Office. Even if you want to repair Office 365, you can use the same methods below.
Let’s get to method 1, which usually fixes the problem (it did in my case).
Method 1: Repair Office with Quick Repair tool (Recommended)
Microsoft Office has a built-in tool to help you repair Office installation. The Quick Repair tool is the first option to consider to repair Word, Excel, Outlook, etc.
Tip: Save your work and close all Office apps before running the repair program.
1. On Windows 11/10, right-click the Windows Start icon. In the pop-up menu, click Installed Apps or Apps and Features.
2. Find the version of Microsoft Office you’re running. (Mine is Microsoft 365, as seen in the image below).
3. Click the three dots on the right and choose Modify.
- A User Account Control prompt will ask your permission to run the Office repair tool. Select Yes, and wait for the repair wizard to appear.
4. In the pop-up, How would you like to repair your Microsoft 365 and Office Programs, select Quick Repair > Repair.
- It is much faster and fixes most issues. It uses local files on your PC to restore Office, and that too without an internet connection.
Note: In my experience, the Quick Repair option is all you need to perform a Microsoft Office repair. It fixes issues like Word not responding, Excel not opening, Outlook freezing, etc.
5. In the “Ready to start a Quick Repair” pop-up, select Repair on this screen. The repairing process starts and takes about a minute to finish.
6. When you see the “Done repairing” window, click Close.
Now, open your Office app and see if it works fine. If not, try the Online Repair option (Method 2).
Method 2: Run the Office Online Repair tool
The Online Repair option fixes all issues and takes a little longer. But I’ll say it is worth the wait.
It also needs an internet connection while it runs. Choose this option only after Quick Repair fails to resolve the problem.
Note: I have used “Online Repair” before, but only for Outlook not loading. And, as expected, it fixed the issue for me.
The steps to access Online Repair are the same as Quick Repair.
1. So go through steps 1 to 4 in Method 1. But this time, choose Online Repair and then select the Repair option.
2. In the “Ready to start an Online Repair” pop-up, select Repair to proceed.
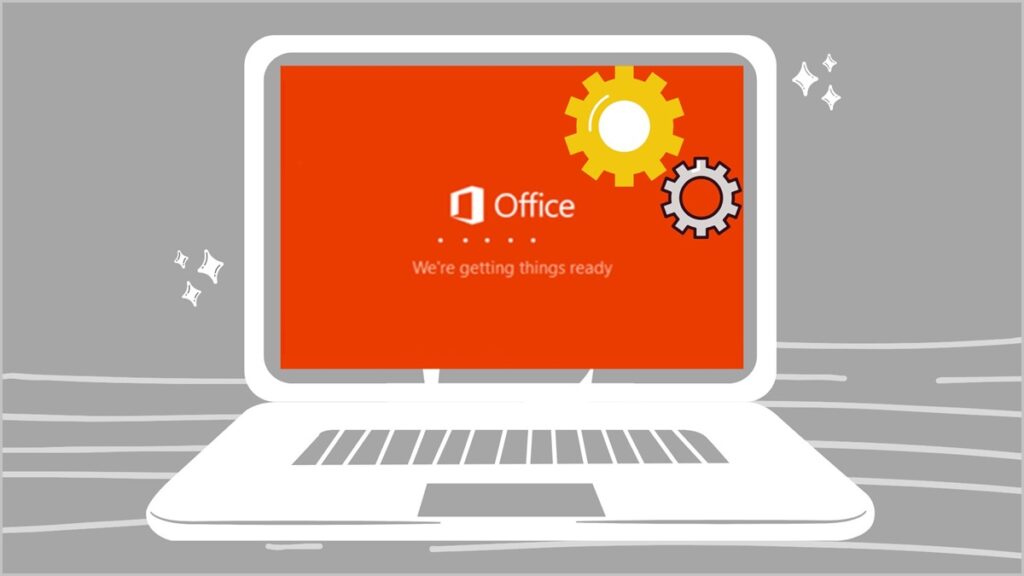
3. Now, be patient! You will notice that the Online repair process is like a new installation. It downloads the Office files and apps to repair your installation (see the image below).
- It will take time, depending on your internet connection speed and the nature of the problem. Your Office apps will light up while the repair finishes.
4. Once the repair process is complete, click Close and restart your computer to be sure.
Then, open your Office app(s) to see if the problem is gone.
Remember when I mentioned Outlook not loading? Now, it works just fine!
If you still need help, proceed to method 3.
Method 3: Run Microsoft SaRA
Microsoft SaRA is also called Microsoft Support and Recovery Assistant.
SaRA allows you to troubleshoot and diagnose an issue with Microsoft Office, Office 365, Outlook, Teams, and Windows.
Note: Microsoft also uses this tool for troubleshooting whenever you call them. So, you’ll find it helpful in repairing Office 365 (Word, Excel, or Outlook).
1. Download SaRA from the Official Microsoft Download Center in .zip form. You must click on Download.
2. Once downloaded, right-click to Extract/Unzip into any folder you want. You’ll find it in the Downloads folder of File Explorer or File Manager.
3. Double-click the file named SaraSetup.exe to run the program. Then, select Install to confirm the installation.
4. Once installed, the Microsoft SaRA home screen appears (see the image below). Select the app with problems like Teams, Office, Outlook desktop, Outlook on the web, and more. Click Next to continue.
5. Then, select the problem you’re having and click Next. If your issue doesn’t show up, you can try Advanced Search. In the past, I’ve used this tool to fix Outlook not responding or when I couldn’t activate Office.
6. Next, follow the on-screen steps to troubleshoot and repair an issue with your Office app.
If it’s your lucky day, SaRA will fix the problem. Otherwise, please try method 4.
Method 4: Remove and Reinstall Office
If this is what it takes to repair Office or fix an issue with your Office app, you’re undoubtedly exhausted.
Stay calm! I will help you download a tool that will completely uninstall Microsoft Office or Microsoft 365 installation. Then, you’ll reinstall Microsoft 365 (Office) on your PC like a fresh copy.
Download and Run the Uninstall Support Tool
1. Download the uninstall support tool.
2. Double-click on the file named SetupProd_Offscrub.exe to run and install this tool. Let this tool find the Office product installed on your computer.
3. Next, select the version of Microsoft Office you want to uninstall and click Next.
Note: If you’ve previously installed SaRA, type SaRA in the Windows Search bar and click to open it. Then, choose “Office & Office apps” on the home screen and select “I have Office installed, but I’m having trouble uninstalling it.” It will take you to the same screen (see the above image), so continue from here.
4. Follow the remaining prompts to uninstall Office or Microsoft 365. It takes roughly 15-20 minutes for the removal process to complete.
5. If prompted, restart your computer. This tool automatically re-opens after a restart to finish the uninstallation process. Once done, close the uninstall program. Finally, your Office installation is gone.
6. If you want to reinstall Office or Microsoft 365, check my step-by-step guide about how to reinstall Microsoft Office.
I’m sure this guide has helped you troubleshoot and fix your Office problems.
If you’ve any questions, want to know something, or have a suggestion, feel free to comment below.
References:
- https://support.microsoft.com/en-us/office/repair-an-office-application-7821d4b6-7c1d-4205-aa0e-a6b40c5bb88b
- https://docs.microsoft.com/en-us/office/troubleshoot/office-suite-issues/click-to-run-app-repair-process
- https://support.microsoft.com/en-us/windows/repair-apps-and-programs-in-windows-e90eefe4-d0a2-7c1b-dd59-949a9030f317